How to run remote workshops that get results [plus free templates]
![How to Run Remote Workshops that Get Results [Plus Free Templates]](https://www.sitback.com.au/wp-content/uploads/2022/10/Miro-Remote-UX-Workshop-Template-1-Intro.png)
It is reported that, if they could, 99% of people would now choose to work remotely, at least part-time, for the rest of their careers….
Running workshops face-to-face seems like an alien concept now; with 100% of our workshops being remote since March 2020, it’s fair to say we’ve learnt a thing or two about how to run effective efficient workshops. And let me tell you, it’s not business as usual.
From increased set-up time, technical malfunctions and strained communication – remote workshopping has been no picnic. However, we’ve come out the other side bright-eyed and bushy-tailed, armed with new and improved ways of working.
Based on the learnings of our Experience Design team, we’ve put together some tips and also some very helpful sharable workshop templates in Miro to avoid you having to go through the same pains we’ve experienced.
Our insights have been guided around our experience with using both Miro for the activities and Zoom for video calls. But they are relevant no matter what your tool of choice is.
Walk in their shoes
You’ve set up your workshop activities, they look sleek and ready to go – however, does the flow, instructions and layout make sense for participants, and is it easy to use? It is easy to get caught up in the details, but don’t forget to test and validate your workshop.
We recommend trialling it out, and walking through it with a colleague (maybe one outside of the project team) as a trial run before the workshop. This way you can iron out any details beforehand and sort out issues that you had not foreseen.
Don’t throw participants in at the deep end
Before the session starts, make sure you have educated and instilled confidence in your participants by providing as much information upfront. We do this in a few different ways:
- Send a clear invitation to the workshop outlining exceptions, agenda, objectives, items the participant will need, and a link to the meeting. Ideally, this would be sent out the week before the workshop time permitting.
- If this is the first time participants are using the tool (for example Miro), it is recommended to set up a brief 30-minute call the day before to get the participants set up with the tool. This can be used for making sure they have signed in and that there are no tech issues. We recommend this for a couple of reasons 1) everyone, including us, is time-poor and so asking people to do the set-up themselves beforehand can be a big ask 2) It saves time during the workshop so that you can jump straight in without having to wait for people to sign up.
- It’s also useful to set participants’ homework beforehand (whether they do it or not is a different matter) as it helps to get them excited about the workshop and put them in the right frame of mind. One way to entice participants to complete the homework is by making the outputs from homework an integral part of a workshop activity – therefore motivating them not to come empty-handed. Additionally, we would also recommend asking the managers of the participants to set/send the homework – as they have more of a relationship and authority day-to-day with their colleagues. The homework should be no longer than 15 minutes long.
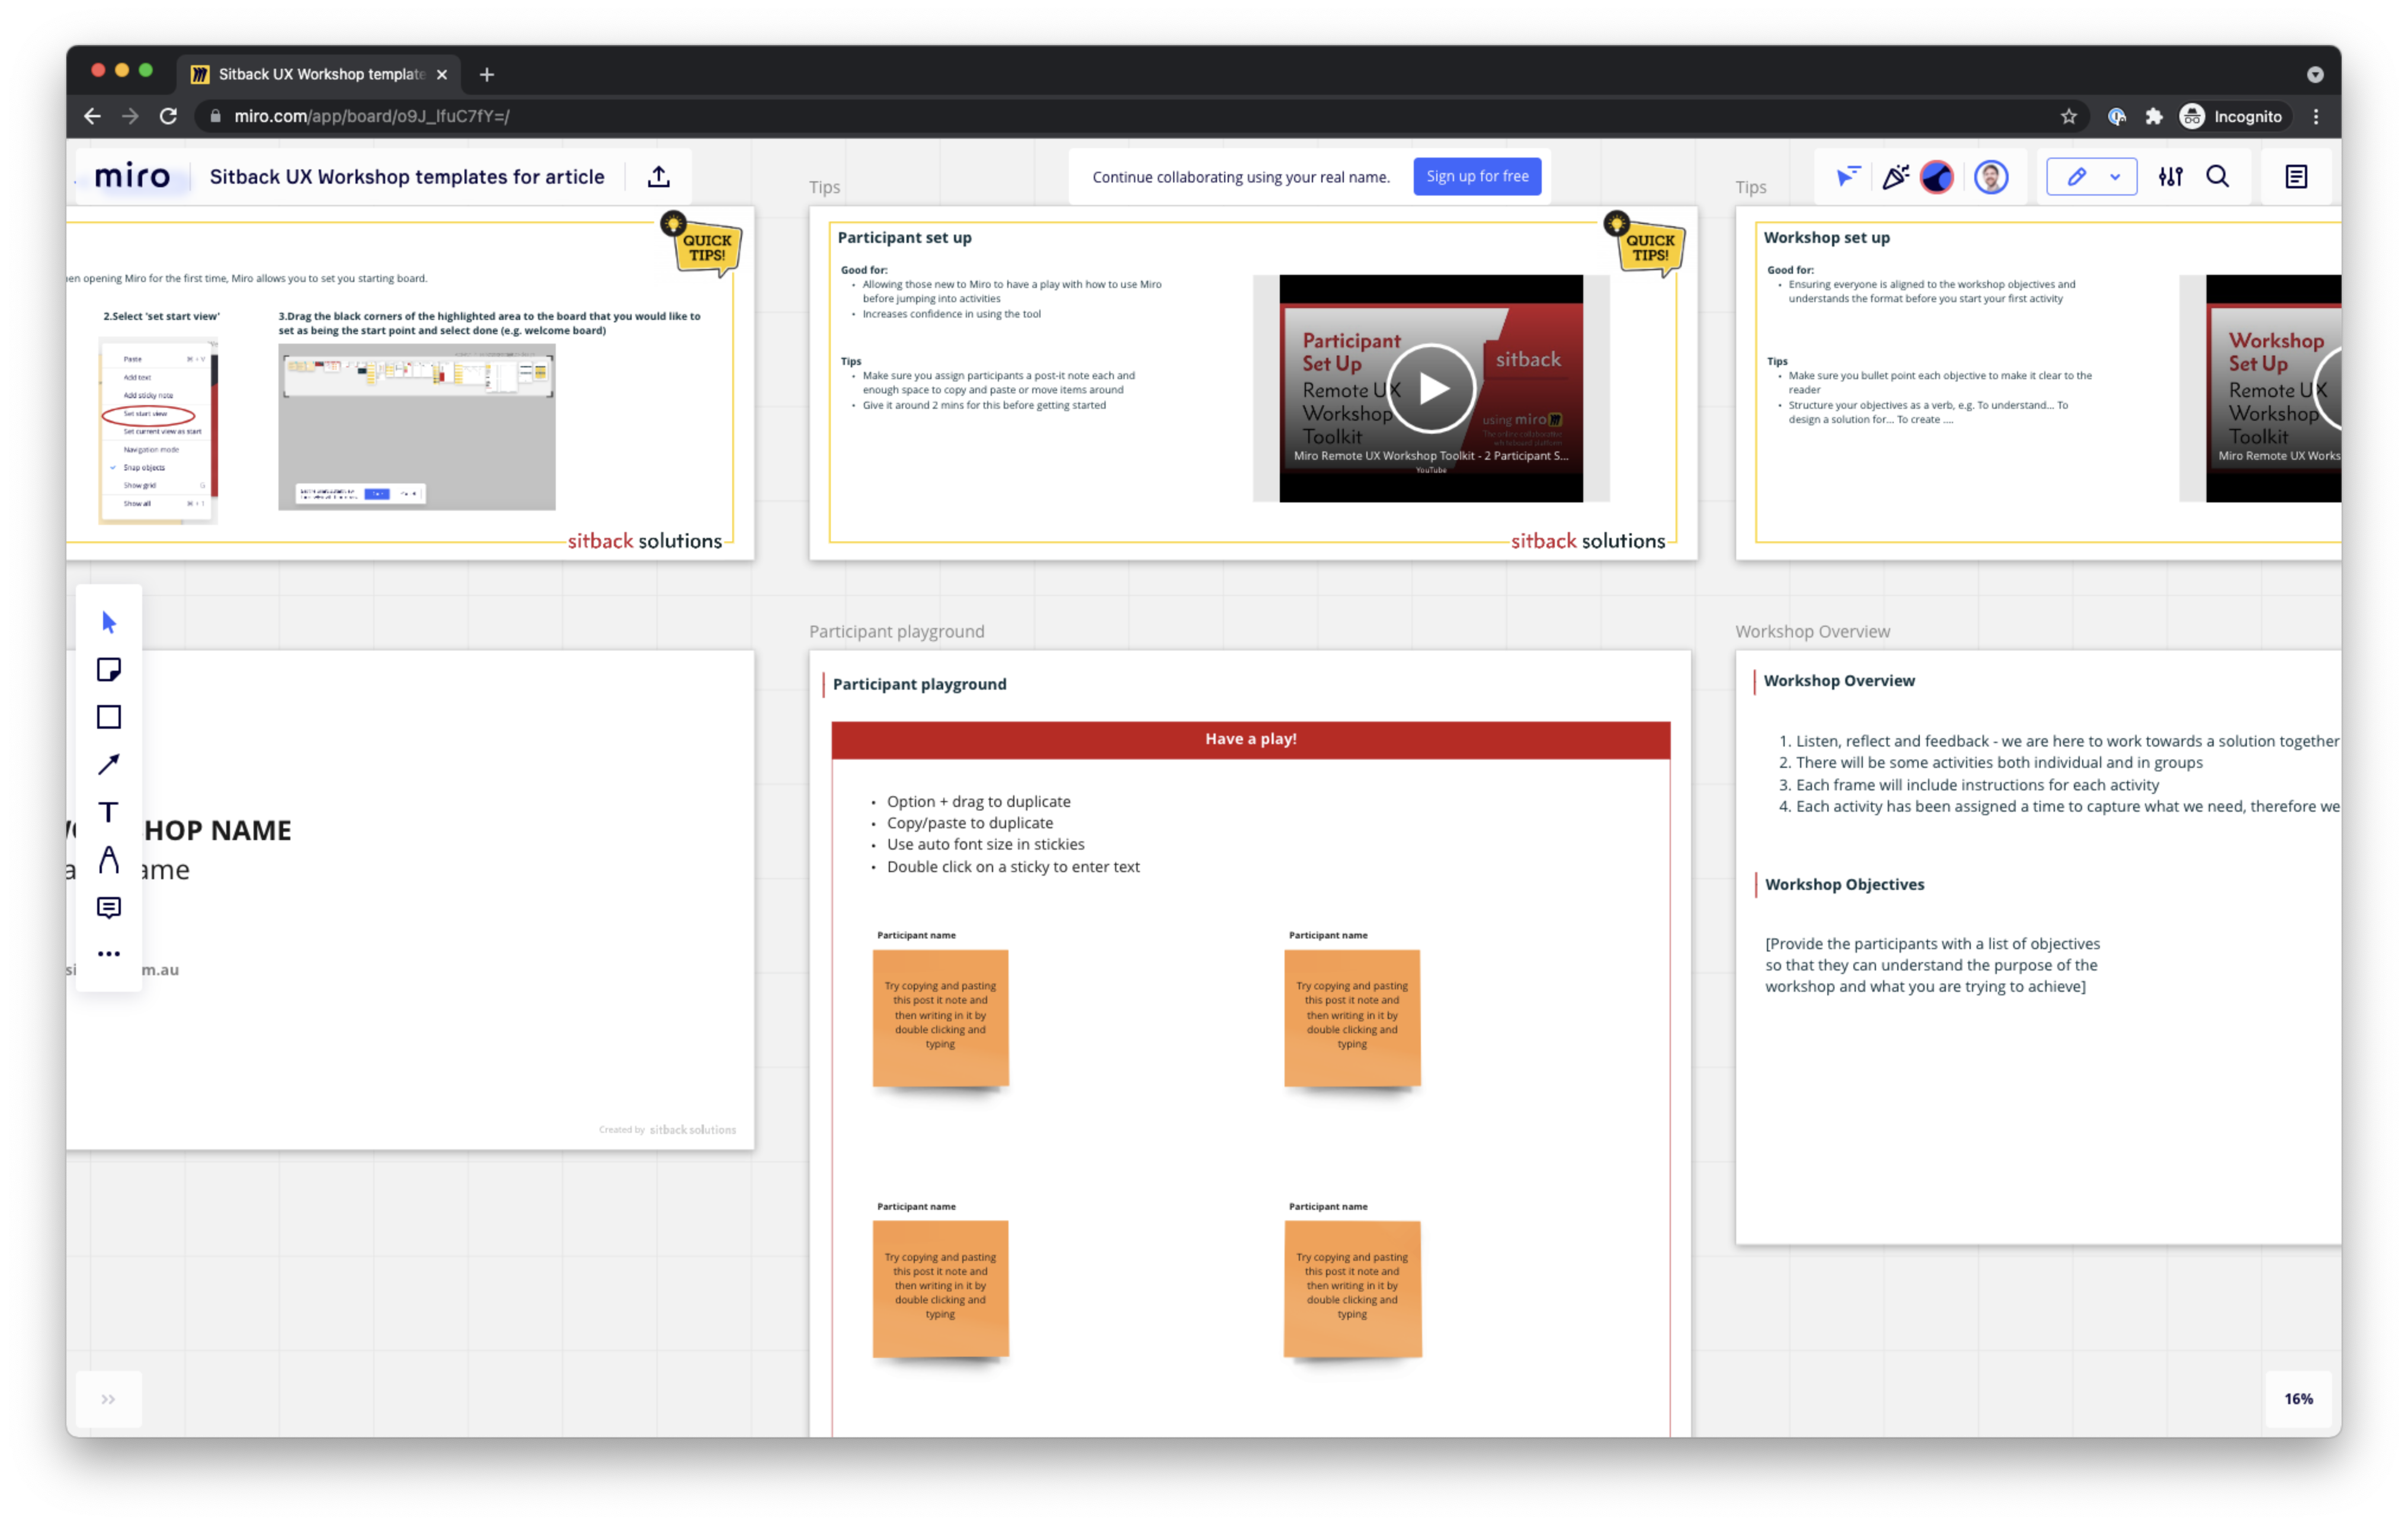
We recommend giving participants the chance to play with the Miro interface before the session begins.
Beware of the learning curve
No matter how much introductory material, video tutorials, or e-mail communication you provide – there will usually be a steep learning curve for participants using the tool in the workshop. Common issues include navigation within the tool and being unsure of how to edit boards. Be prepared for issues by giving yourself extra time (around 10 minutes) to ensure everyone is happy in the tool before jumping into your first activity.
In the Miro templates we have created, you will see we have a participant playground. We usually give participants 5 minutes to attempt to perform core functions that we will use in the workshop, such as editing text, copying and pasting elements and navigating around the board. Allowing users to have a play before they get into the ‘serious’ stuff helps to build confidence with the tool right at the start and get them familiar with key interactions.
But most importantly, be patient and guide users step by step through the activities; this will set you up for a more smooth-running workshop.
It takes 2
Back in the good old days when workshops were in person, we used to have one primary facilitator and one supporting note-taker. However, these days both of us have to take the reins of facilitation for the workshops to run smoothly. These are how we tend to split our responsibilities:
Facilitator 1: the main guy or gal
- Provides set up, introductions and guides users through each step in the workshop
- Ensures that we complete core activities
- Asks engaging and thought-provoking questions based on participant feedback and outputs to ensure we collect the information we require
Facilitator 2: the best supporting actor/actress
- Theming ideas on the board once participants have completed activities
- Uploading images sent by participants for activities (for example sketching)
- Helping people who are struggling, usually in a Zoom breakout room as to not disturb the whole workshop
- Jumping in to ask questions on ideas that they would like to explore further
- Taking notes where necessary or helping jot down ideas from the participants directly onto the board’s post its
Don’t panic
You plan, plan and plan some more. But let’s be honest, without the gift of foresight you cannot account for issues that occur during the workshop. There have been some occasions where we ran out of time, participants have not wanted to contribute or there was an activity not working out as planned.
But don’t panic!
This is a learn-as-you-go process; being able to adapt and be flexible to the needs of both the workshop objectives and the participants is important to ensure that everyone feels comfortable, and that the workshop is a success.
For example, if you realise the tool isn’t suitable for your participants, allow them to work in a medium they are comfortable in – let them revert to pen and paper or a word document to capture their thoughts. You can simply ask them to read them out at the end of an activity and capture the information for them in the whiteboarding tool. Don’t force something that just isn’t working.
Or if you find that someone is being very uncooperative, perhaps you could use a breakout room with your supporting facilitator to have a 1:1 conversation about their concerns or issues and address how you can work together towards the best outcome for the workshop.
Break it up
Our most effective workshops typically run for about 2-3 hours (any more than this and everyone struggles to concentrate and loses interest).
Within this, we ideally like to have at least a 10-minute break. Not only does this give your participants time to recoup and reset, but it also gives you breathing time to step back, review and analyse the outputs so far. Additionally, it allows you to change tact if you don’t think you aren’t getting the information that you require.
This buffer time can also act as a safeguard if you are running out of time. If needs must, you can eat into this time to complete another activity.
Reduce, reuse, recycle
Not only is ‘reduce, reuse, recycle’ great for the environment, but funnily enough, it’s also a great workshop motto!
Reduce: if you think you are running out of time to get all your activities done, start thinking ahead – can you reduce an activity length? Can you remove the break? Can you remove an activity? Can you make an activity group-focused instead of individual, and use break-out rooms? Like we said before, be flexible.
Reuse: to save you time, we’ve helpfully created sharable Miro templates, alongside contextual tips for each activity that you can re-use as part of your workshops. We’ve included activities for requirements gathering, ideation and prioritisation.
Recycle: if you find an activity or approach that has worked well, recycle (or up-cycle if it needs tweaking slightly) for other projects. As the old saying goes, if it ain’t broke, don’t fix it. Save yourself time and effort where possible, you will need that energy to stay focused on those long workshops!
So, there you have it. Our top tips for getting the most out of a remote workshop.
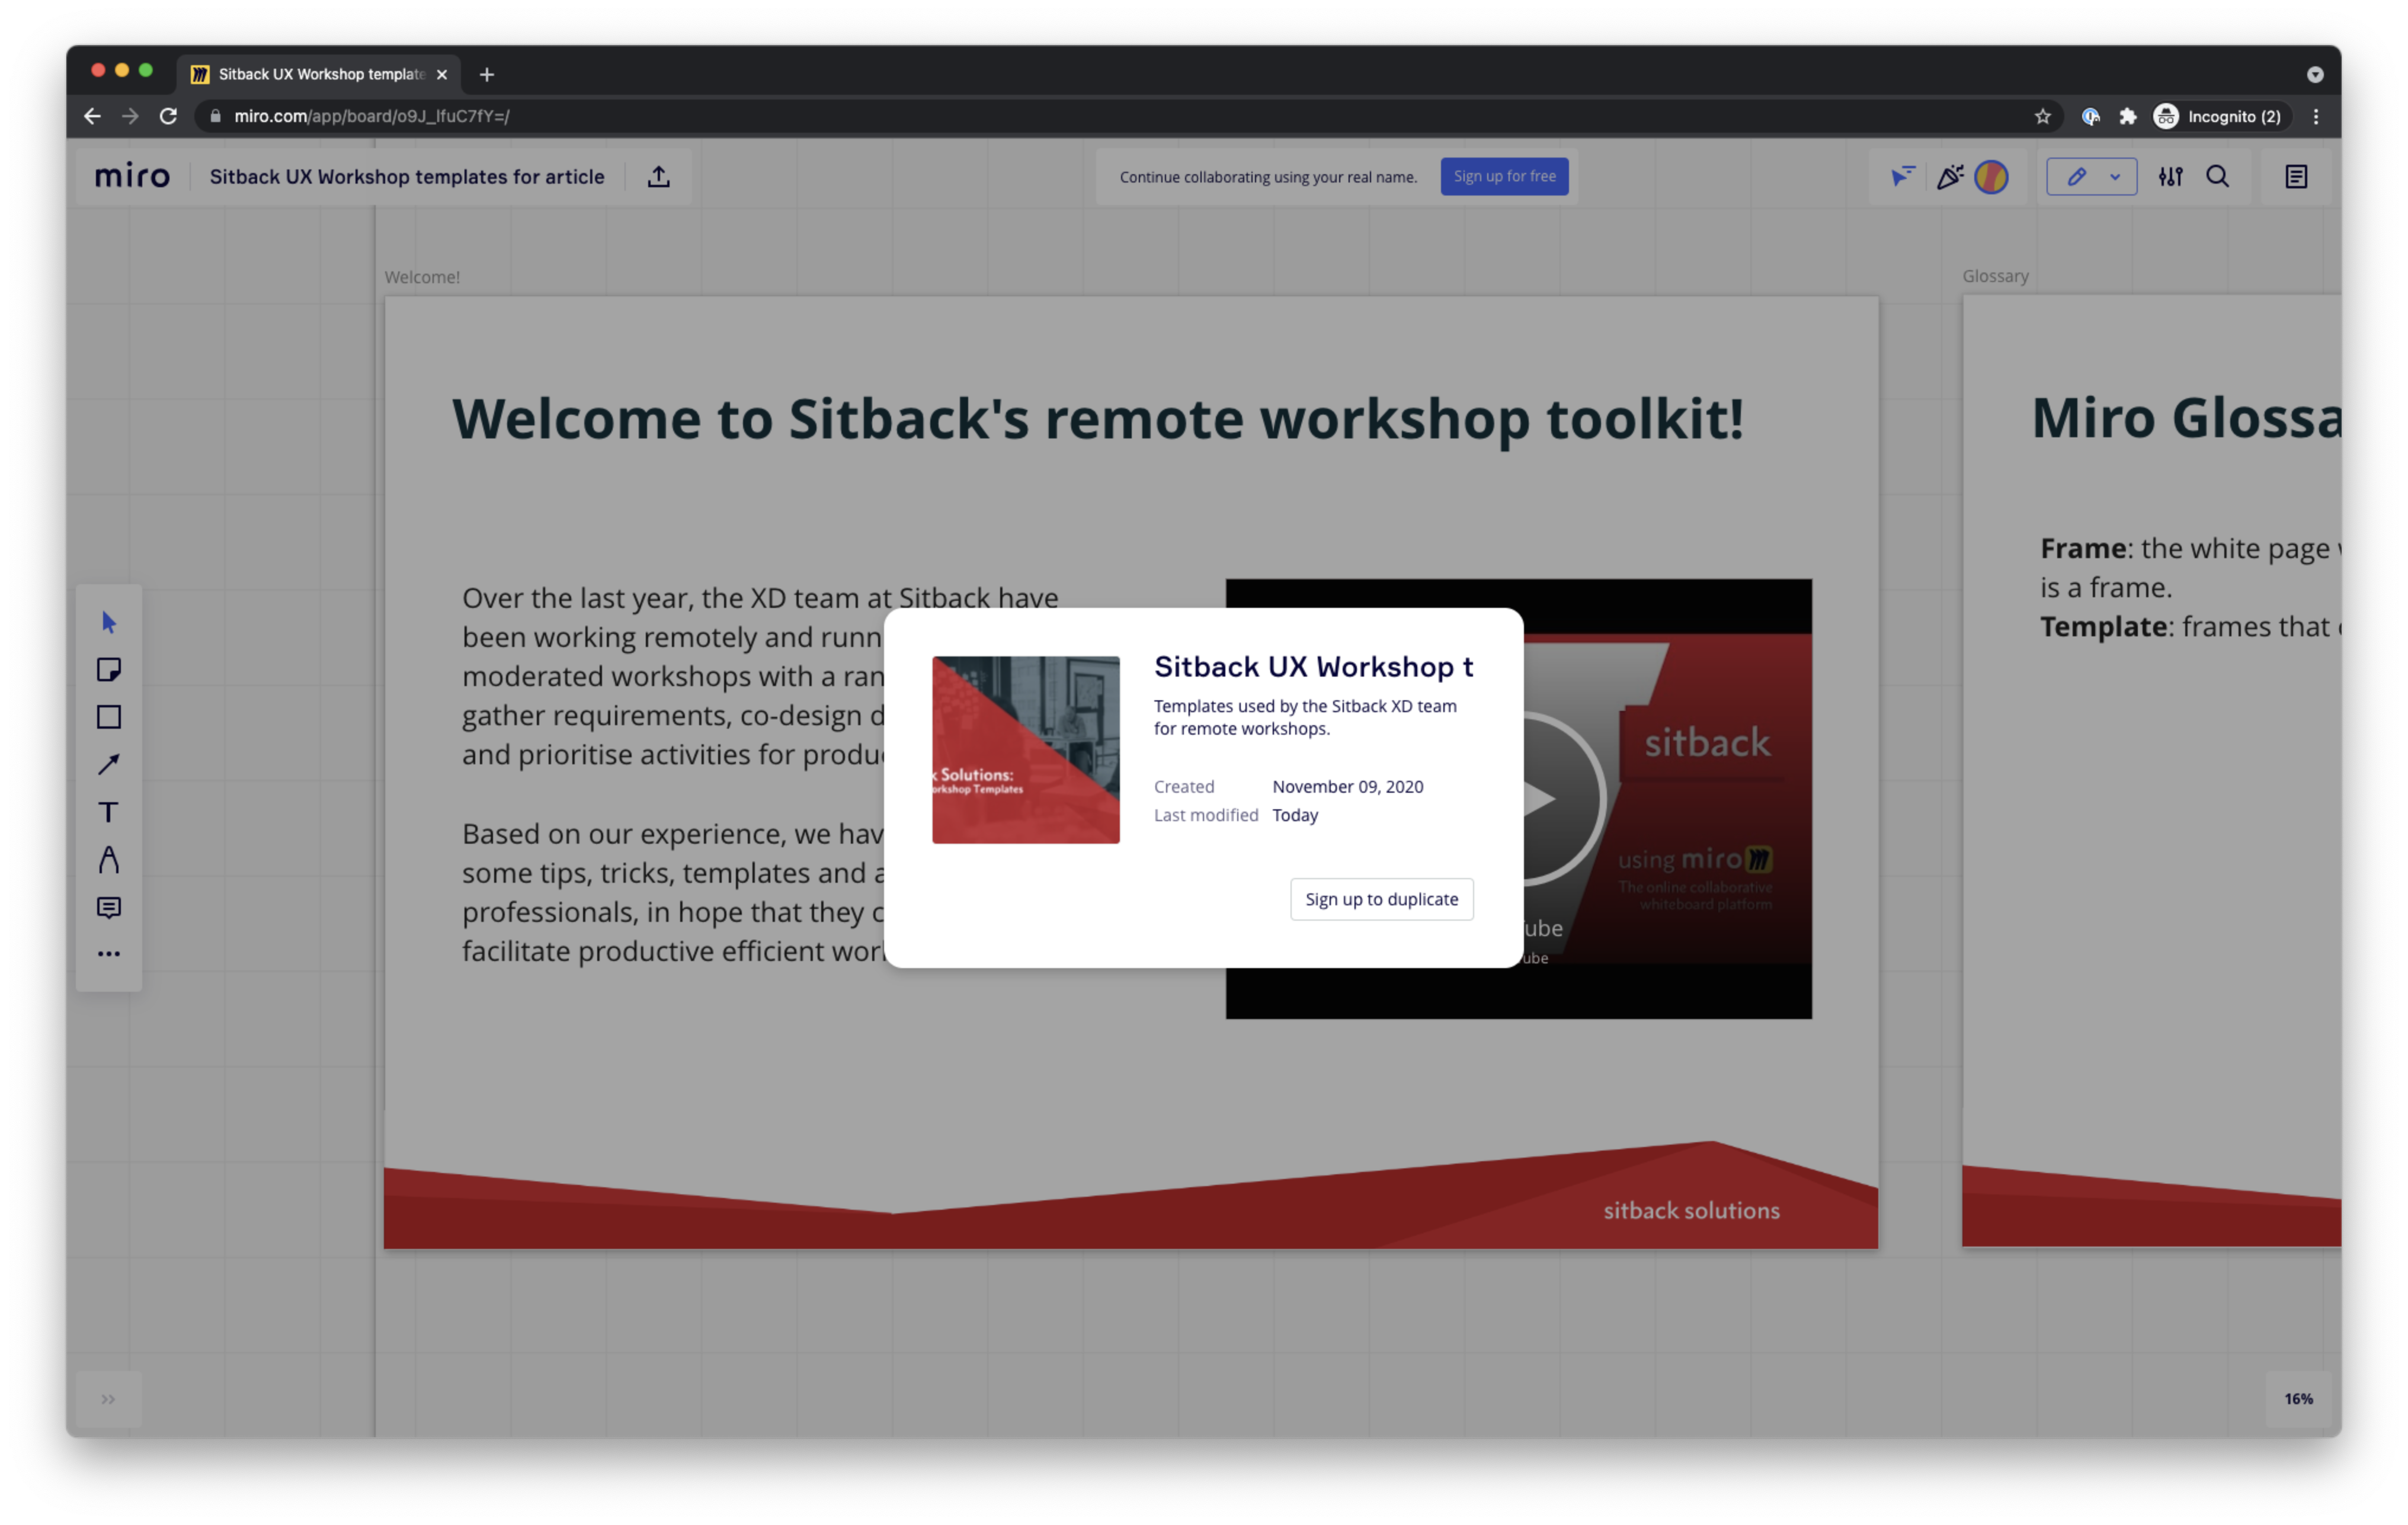
If you would like to utilise our sharable resource, access our Miro templates here.
How To Use The MIRO Templates
Simply follow the link, then click on the title of the MIRO board in the top left corner. In the dialogue window that appears, click on “Duplicate”. If you don’t have a Miro account, or you’re not signed in, you’ll instead see a button saying, “Sign up to duplicate”. From here, Miro will guide you through the rest of the process
Threatened Species Case Study
For a real-world example of how these Miro templates can be used, check out our case study for the NSW Department of Planning, Industry and Environment. In it, we take a deep dive into the remote workshops we conducted with DPIE for their “Threatened Species” project, covering both how we ran the sessions, and the outputs of the workshops themselves.

If you have any questions or feedback based on your own experiences, we would love to hear from you! Get in touch with Sitback’s Experience Design team for expert guidance.